This Article Contains
How Face Direction Creates Information Flow
On business cards, LinkedIn, company websites, recruitment pages, and many other media, the profile photo is typically placed on the left. The name, title, and body text are arranged to the right of the face.
In this layout, a photo where the face turns right (toward the inside of the frame) makes the photo and text feel like a single connected unit. The flow of the viewer's eye is natural, and the overall information becomes easier to absorb.
Conversely, when the face turns left (outward), the viewer's gaze is pulled away from the photo and toward the edge of the frame. Even with a great expression, the photo can give the impression of "escaping" from the layout.
The Eye "Flows" from Face to Text
When a person looks at a profile photo, their gaze naturally flows in the direction the face is pointing. This happens without conscious effort.
If a photo placed on the left has the face turned right, the viewer's eye flows toward the name, title, and contact information. If it faces the other way, the gaze moves toward the blank space on the card or off the edge of the screen. Which communicates information more effectively becomes immediately clear once you try placing the photo in a layout.
Face direction is not about expression — it is about compatibility with the layout. Even the best smile becomes a difficult photo to use if the direction is wrong.
FIG. 040A diagram showing how face direction changes the flow of the viewer's eye when a profile photo is placed on the left side of a LinkedIn page or business card.
Why You Should Keep Both Right- and Left-Facing Shots
Keeping only front-facing shots during a session makes it harder to adapt to different layouts later. The optimal direction changes by context: right-facing for a business card, left-facing for the right column of a website, front-facing for an SNS icon.
You don't need a dramatic turn. Angling the shoulders slightly and turning the face a little toward the inside of the frame is enough. If you capture three variations — front, right, and left — during the shoot, you'll be able to handle any medium.
All it takes is telling the photographer before the shoot: "Could you get one facing right and one facing left as well?" That's all the preparation you need.
What Happens When You Choose by Expression Alone
There are two common problems that arise when selecting photos.
The first is keeping only the single shot with the best expression. If you have only one candidate, there's no way to adjust if the direction doesn't match the layout later. It's important to secure good-expression shots in both right-facing and left-facing versions.
The second is choosing face direction based on personal preference. The sense that "this angle feels more like me" is valid, but when you actually place the photo on a business card or LinkedIn, you may find that the other direction reads more naturally.
Also, trying to "fix" the direction after the fact by cropping can trim too much space around the face. SNS icons are often cropped into circles, so if there isn't enough margin, the face gets cut off. Leaving generous space around the face from the shooting stage gives you much more flexibility.
Face direction is determined by compatibility with the layout, not by expression.
Confirm Where You'll Use the Photo Before the Shoot
Before the shoot, write down three places where you plan to use the photo. Business card, LinkedIn, company website, presentation slides, SNS icon — once you know the position and size each medium assigns to the photo, it becomes clear what you need to capture.
If the business card design is already set, check the position of the photo (left or right) and match the face direction accordingly. If you're designing it yourself, deciding on the photo first and then building the design around it is also a valid approach.
After delivery, do a test placement in the actual business card layout or LinkedIn profile. Confirm that the viewer's eye flows from your face toward your name and title, and keep the photo that does its job within the full information context.
- On websites and business cards, the photo is often placed on the left, making a right-facing (inward) photo connect more naturally with the information beside it.
- During the shoot, keep three variations: front-facing, right-facing, and left-facing. This lets you handle any use case later.
- When selecting a photo, don't judge it in isolation — place it in the actual business card or LinkedIn layout and check whether the viewer's eye flows naturally.
Related Diagrams
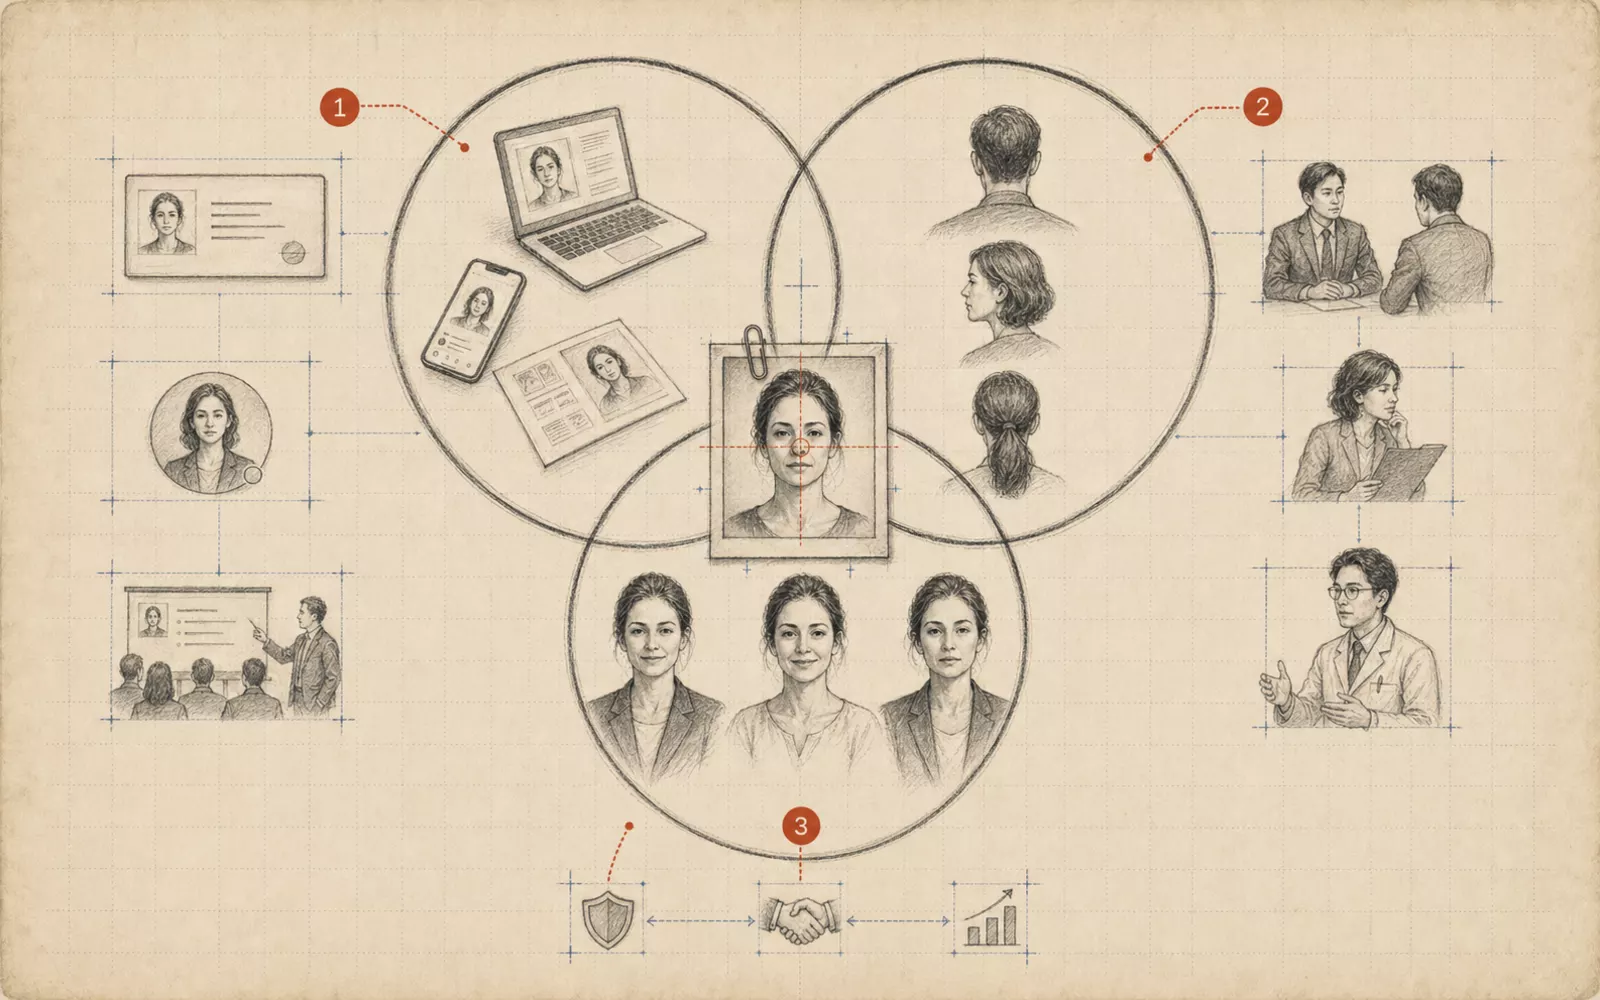 FIG.0023 Questions to Ask Yourself Before Your Profile Photo ShootWhere will it be used, who will see it, and how do you want to come across? This article organizes the three questions you should answer before the shoot.
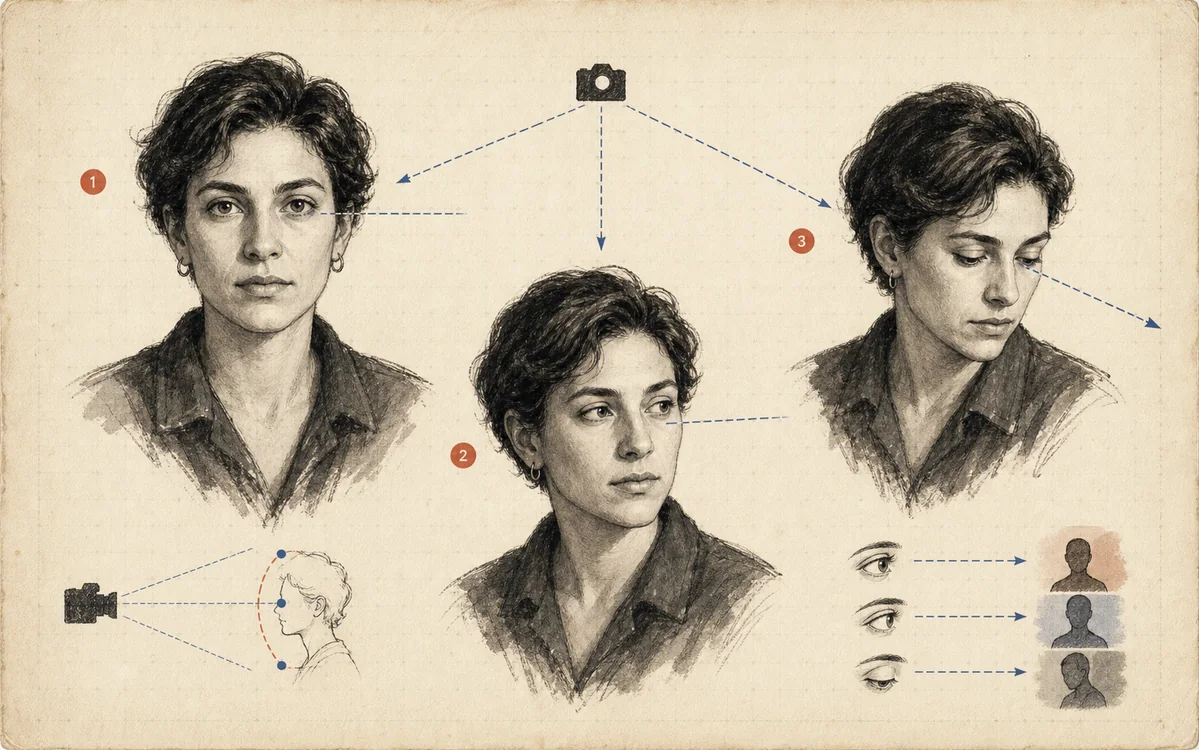 FIG.018Gaze Direction Changes Character in Three WaysDirect eye contact, looking away, and gazing slightly upward each create distinct impressions: trust, thoughtfulness, and a sense of the future.
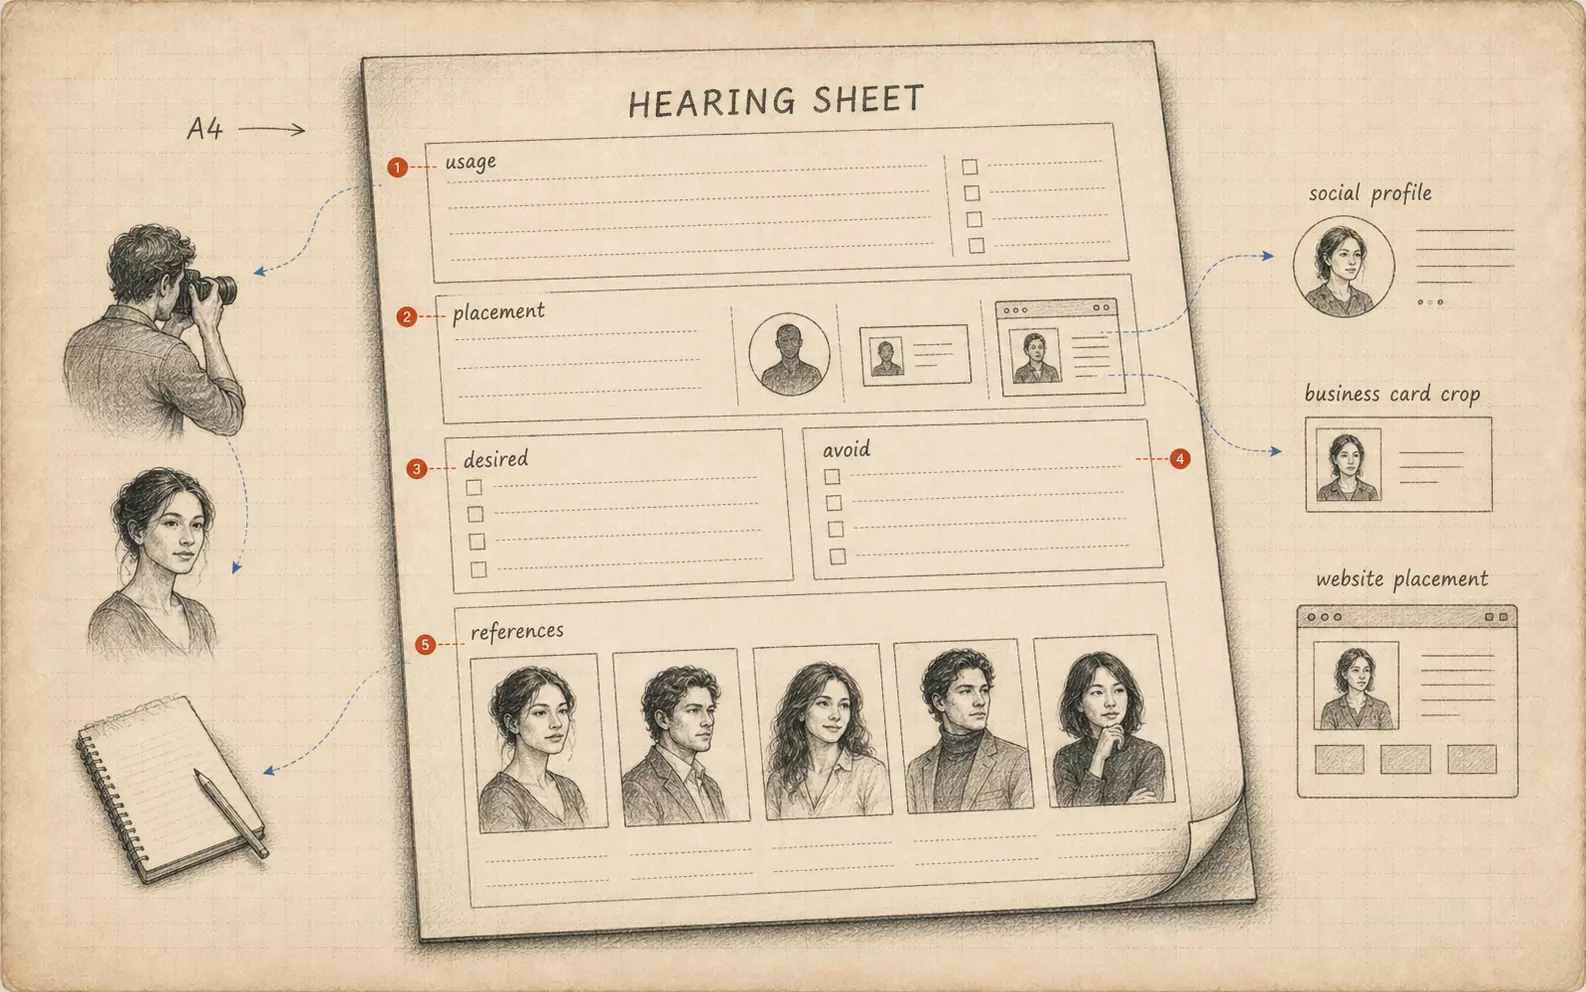 FIG.084Bring Your Own Briefing Sheet to the ShootBringing a single sheet summarizing intended use, intended audience, and the impression you want to convey helps align the shoot's direction from the start.